Clear Your Counters, Streamline Your Cooking, and Make Mealtime Stress-Free
Have you ever felt like your kitchen is working against you instead of for you? Between cluttered counters, disorganized drawers, and pantries packed with things you forgot you had, it’s no wonder meal prep can feel overwhelming. The truth is, an organized kitchen isn’t just about aesthetics—it’s about creating a space that supports you and your family, making mealtime smoother, faster, and even more enjoyable.
A functional, clutter-free kitchen is the foundation for stress-free dinners, quicker clean-ups, and more opportunities to connect with loved ones around the table. To help you achieve this, I’ve teamed up with Carrie Peeples of NeatSmart Professional Organizers. Carrie’s expert tips will guide you step-by-step in transforming your kitchen into a space that inspires confidence and calm.
Whether you start with a single drawer or take on the whole pantry, these strategies will help you create a kitchen that works as hard as you do. Let’s dive in and tackle this together!
Step 1: Declutter Your Refrigerator and Freezer
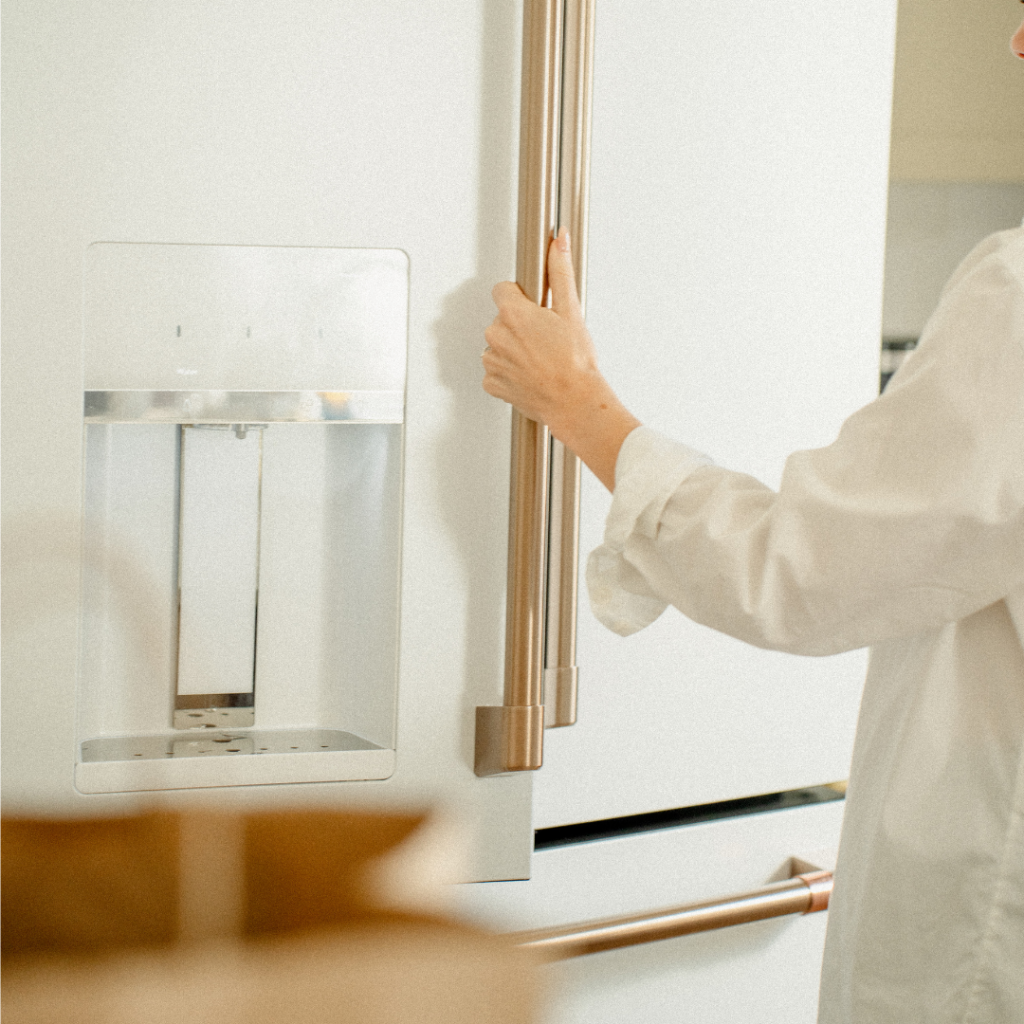
Carrie recommends starting with the fridge and freezer to create a fresh, clean foundation for your kitchen.
Refrigerator: Toss anything expired, those mystery takeout containers, and condiments you haven’t touched in months. Group like items together so they’re easy to find.
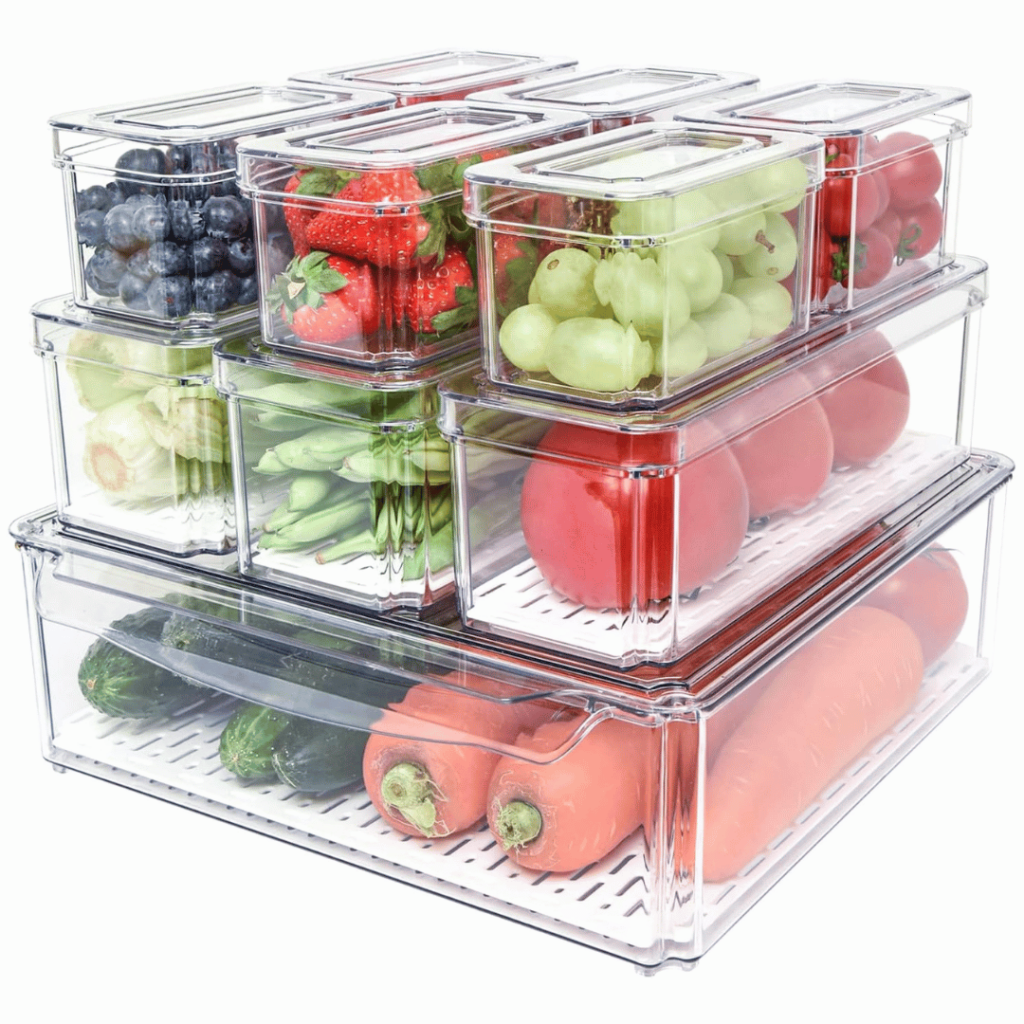
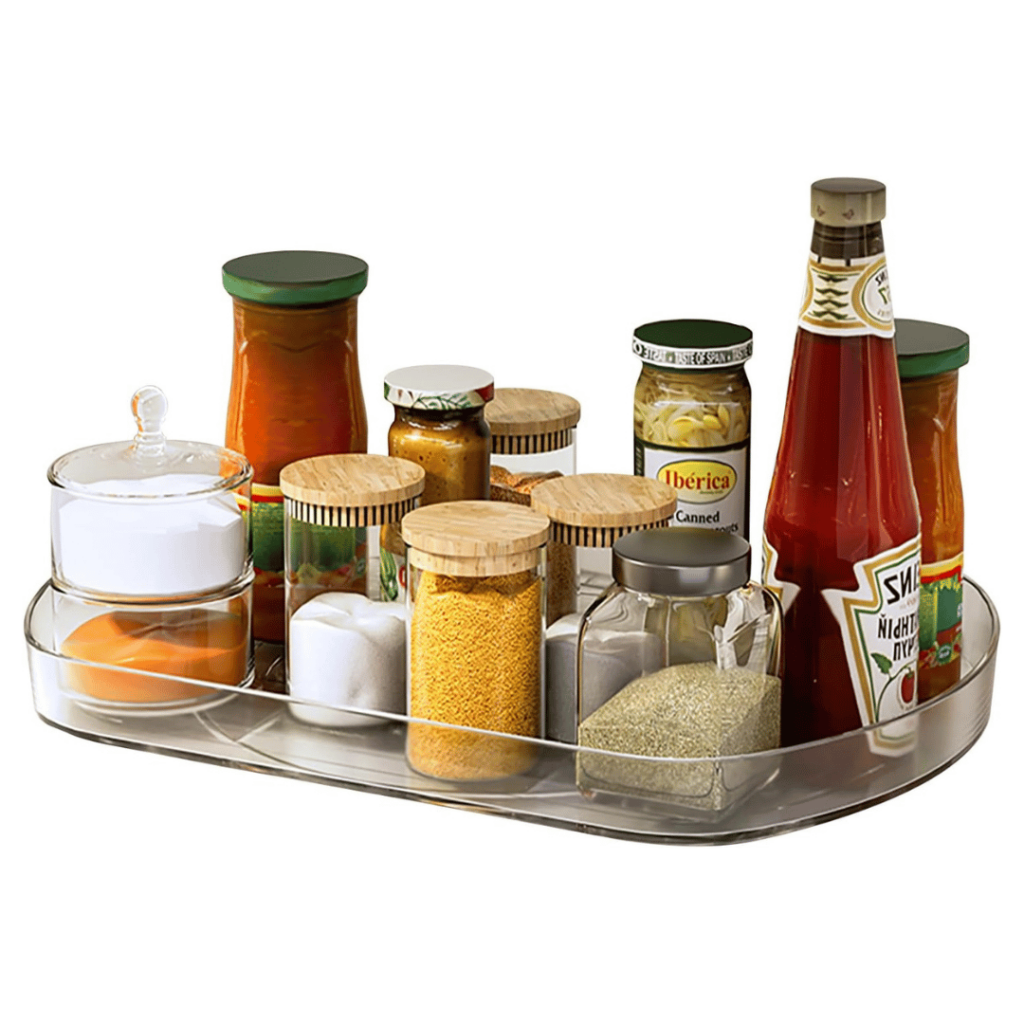
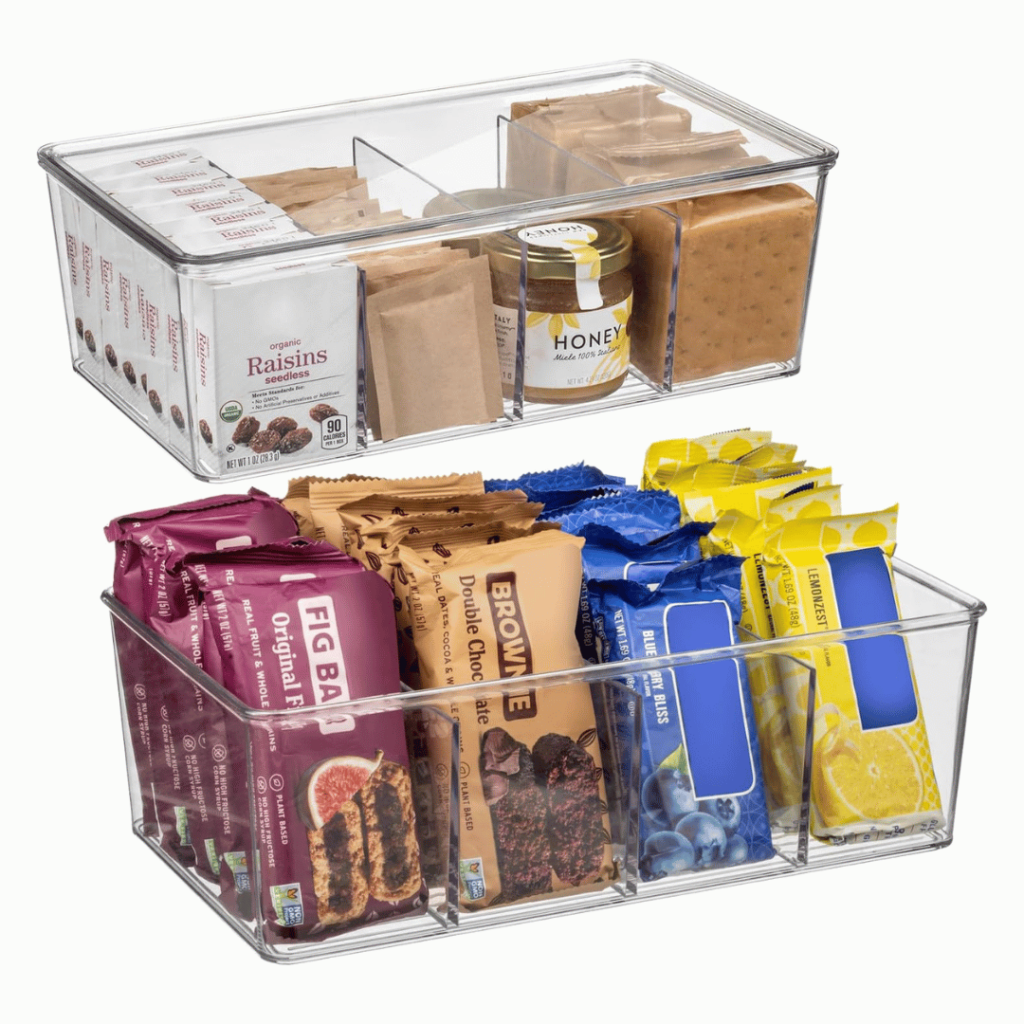
✨ Pro Tip: Use clear bins to group items like dairy, snacks, or condiments. A lazy Susan works wonders for deep shelves.
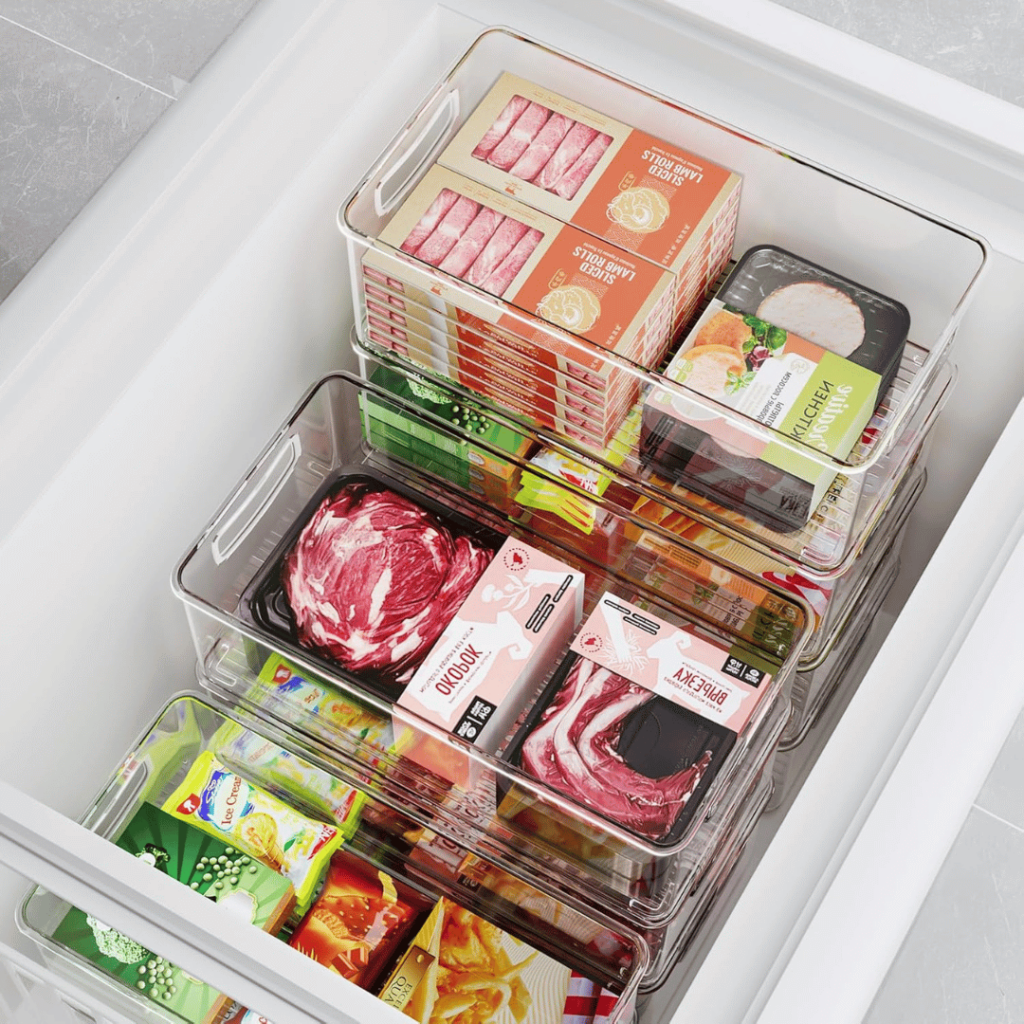
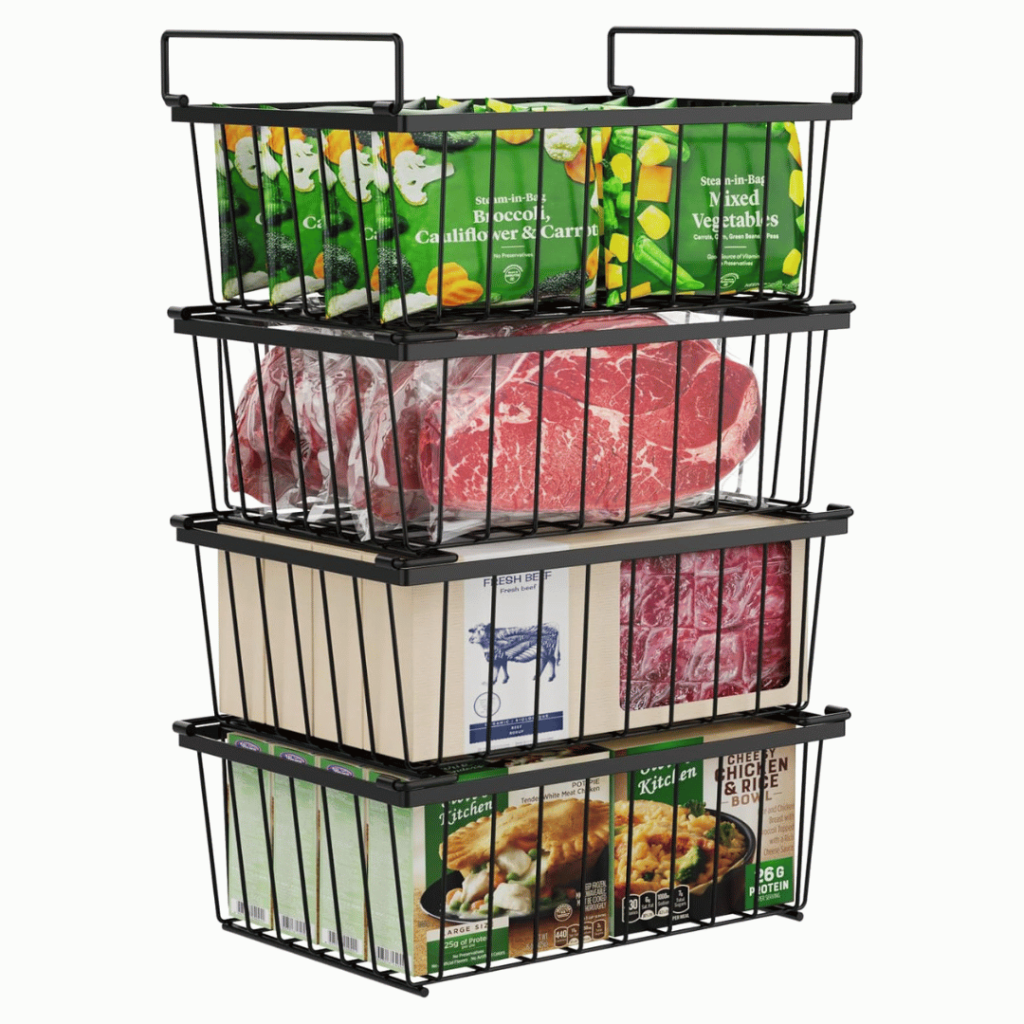
Freezer: Empty everything out—you’ll probably find a few unidentifiable surprises hiding in the back. Toss what’s past its prime and group similar items together in bins or sections for easy access.
✨ Pro Tip: Label everything with dates to prevent future mystery items.
✅ Quick Win: Dedicate 15 minutes to clearing out just one shelf today. You’ll feel an instant sense of accomplishment!
Step 2: Declutter Your Pantry
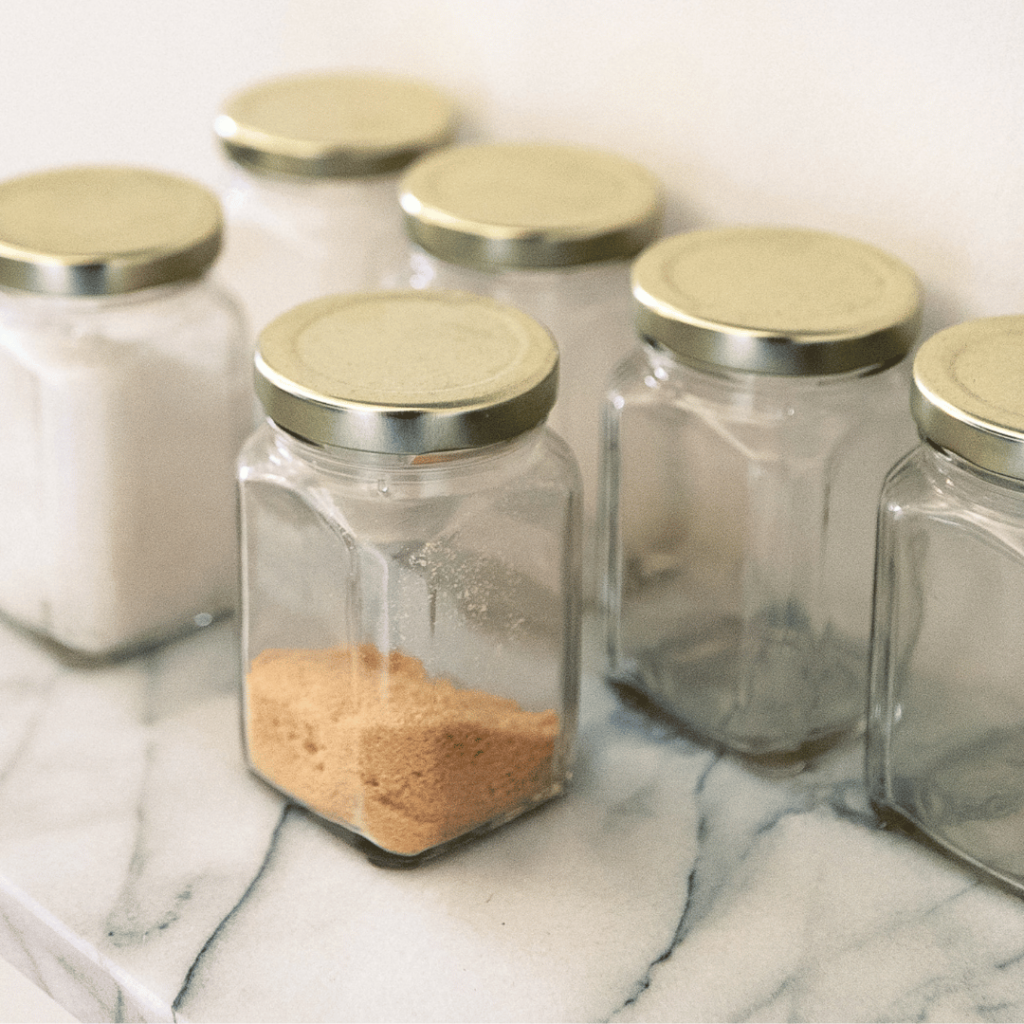
A well-organized pantry is key to stress-free meal prep and making the most of what you already have.
- Purge: Toss expired, stale, or forgotten items. If you bought it two years ago and still haven’t used it, it’s probably time to let it go.
- Donate: Unopened, non-expired items can go to your local food pantry.
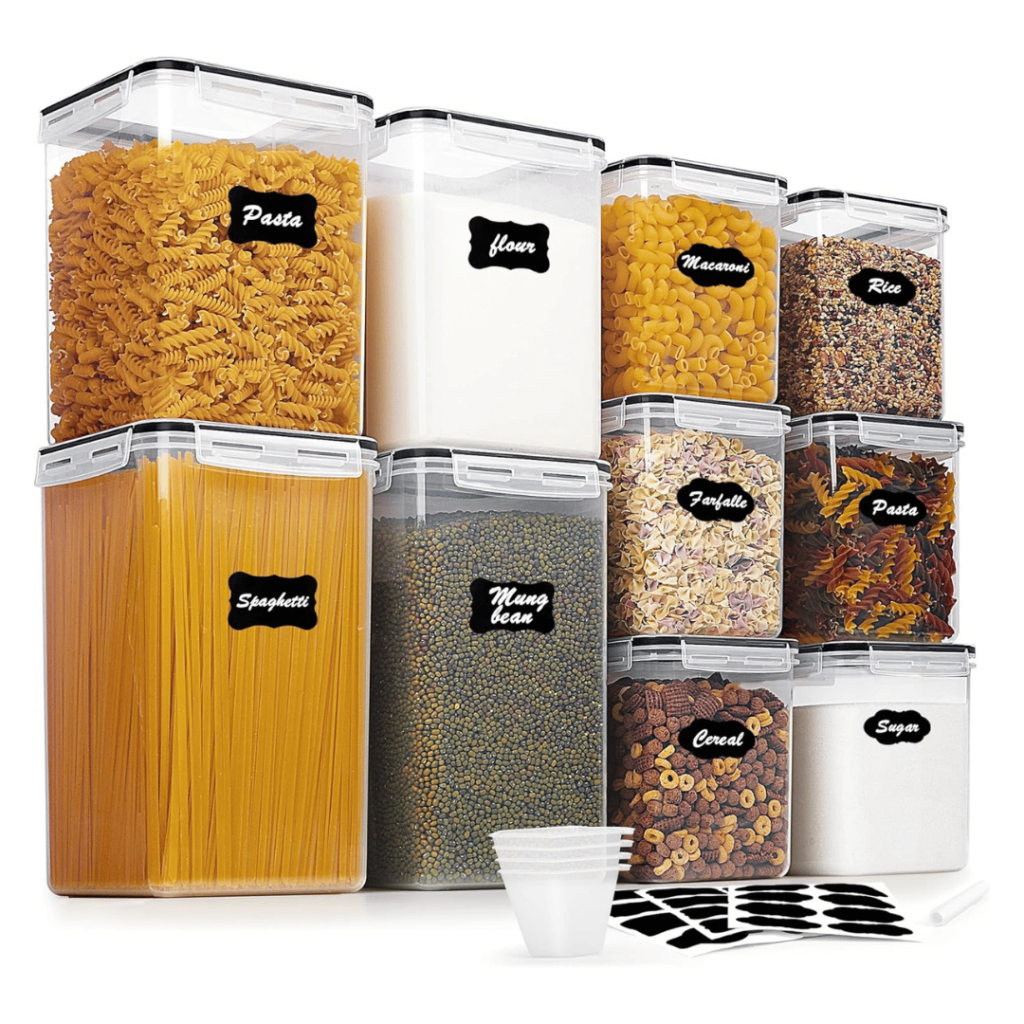
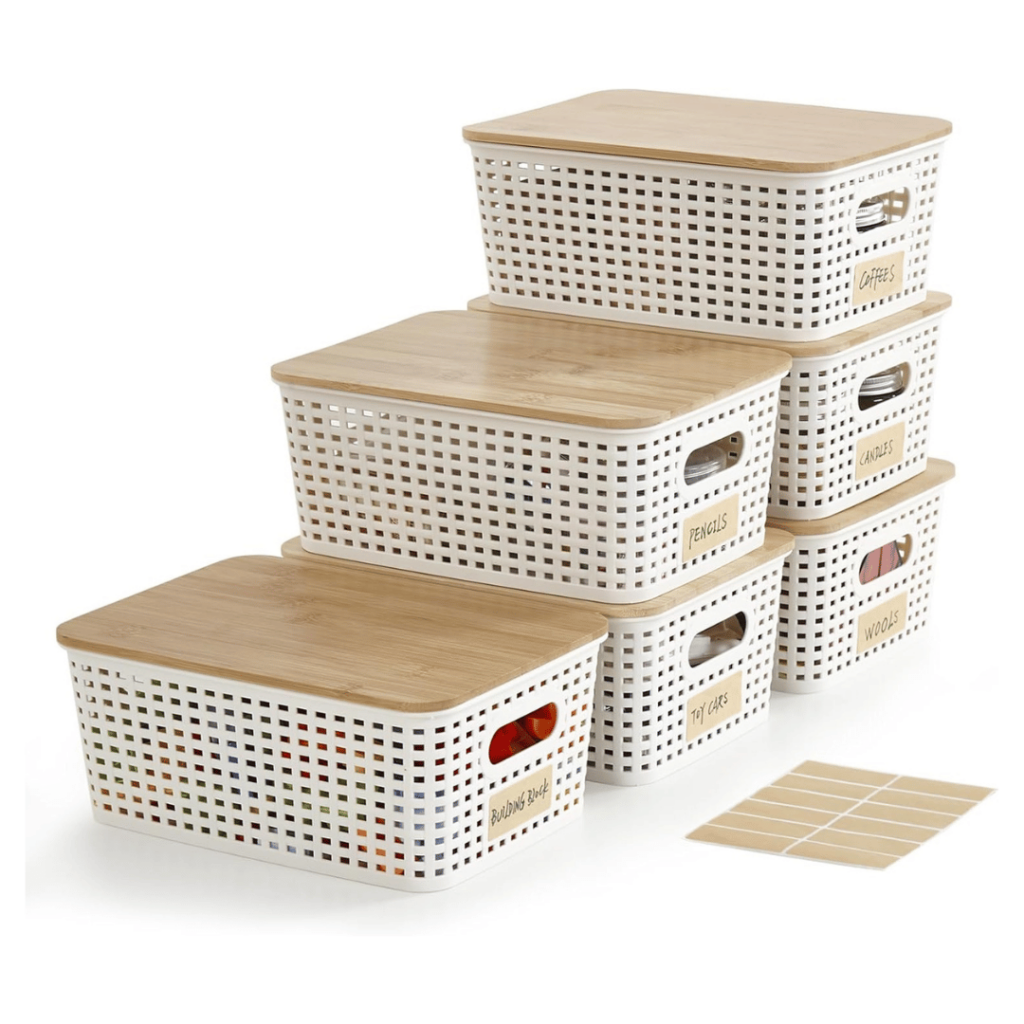
- Organize: Group similar items together—snacks, grains, and baking supplies love a little organization. Use labeled bins or clear containers for a streamlined look.
✅ Quick Win: Grab a bin or box, and toss anything expired or unloved. Label your shelves or bins for added clarity.
Step 3: Simplify Your Tools
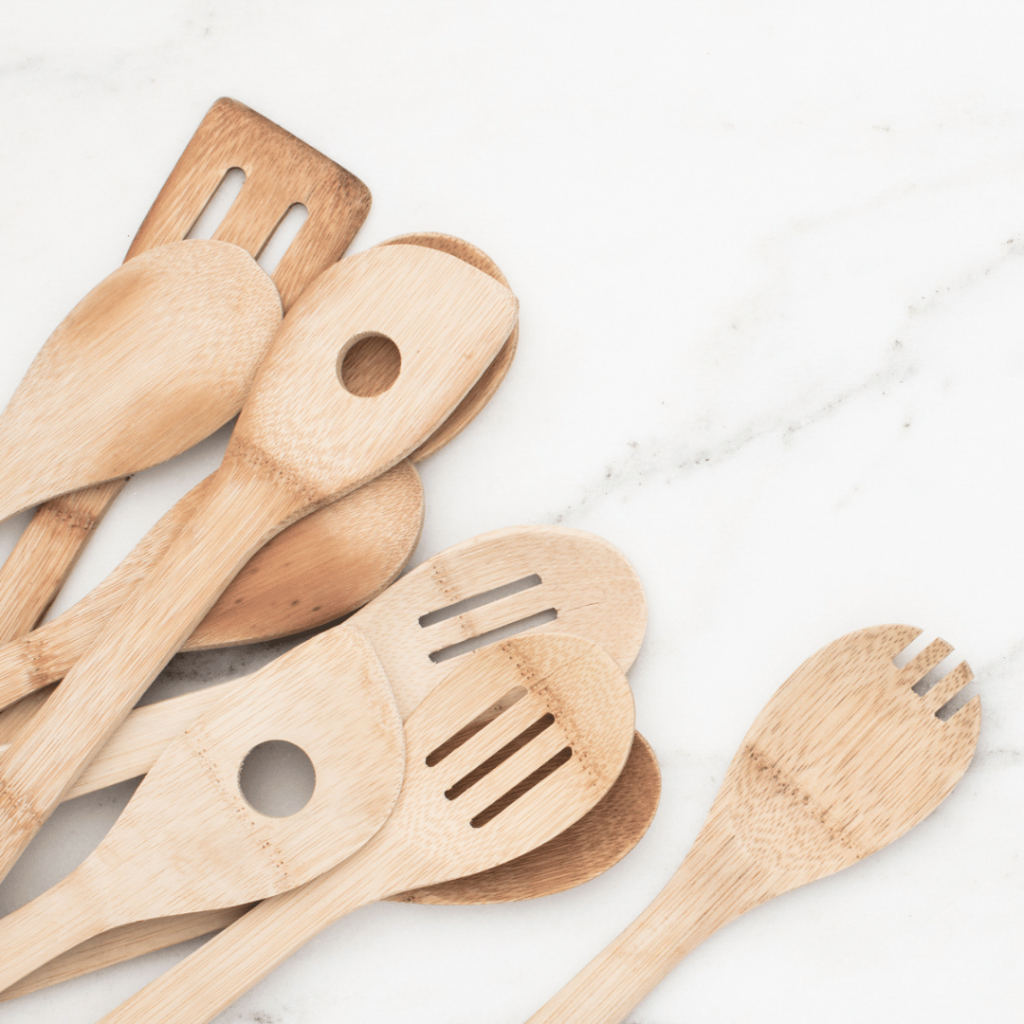
A simpler, more streamlined set of tools makes cooking smoother and less stressful.
- Go through your drawers and remove duplicates or tools you rarely use. Keep only the ones you truly love and use.
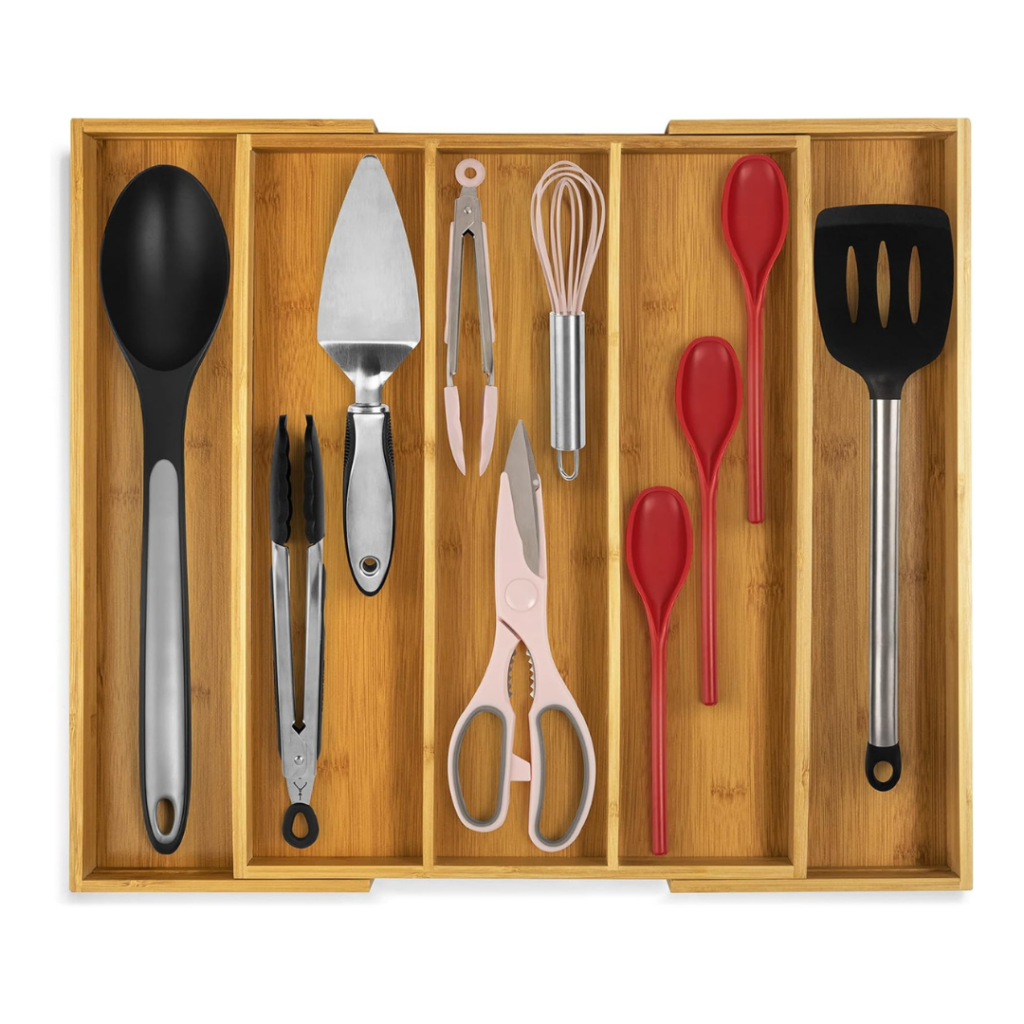
- Use drawer organizers and drawer dividers to keep tools like measuring spoons and spatulas in their proper places.
✅ Quick Win: Set a timer for 10 minutes and declutter just one drawer. You might be surprised how liberating it feels!
Step 4: Think in Zones
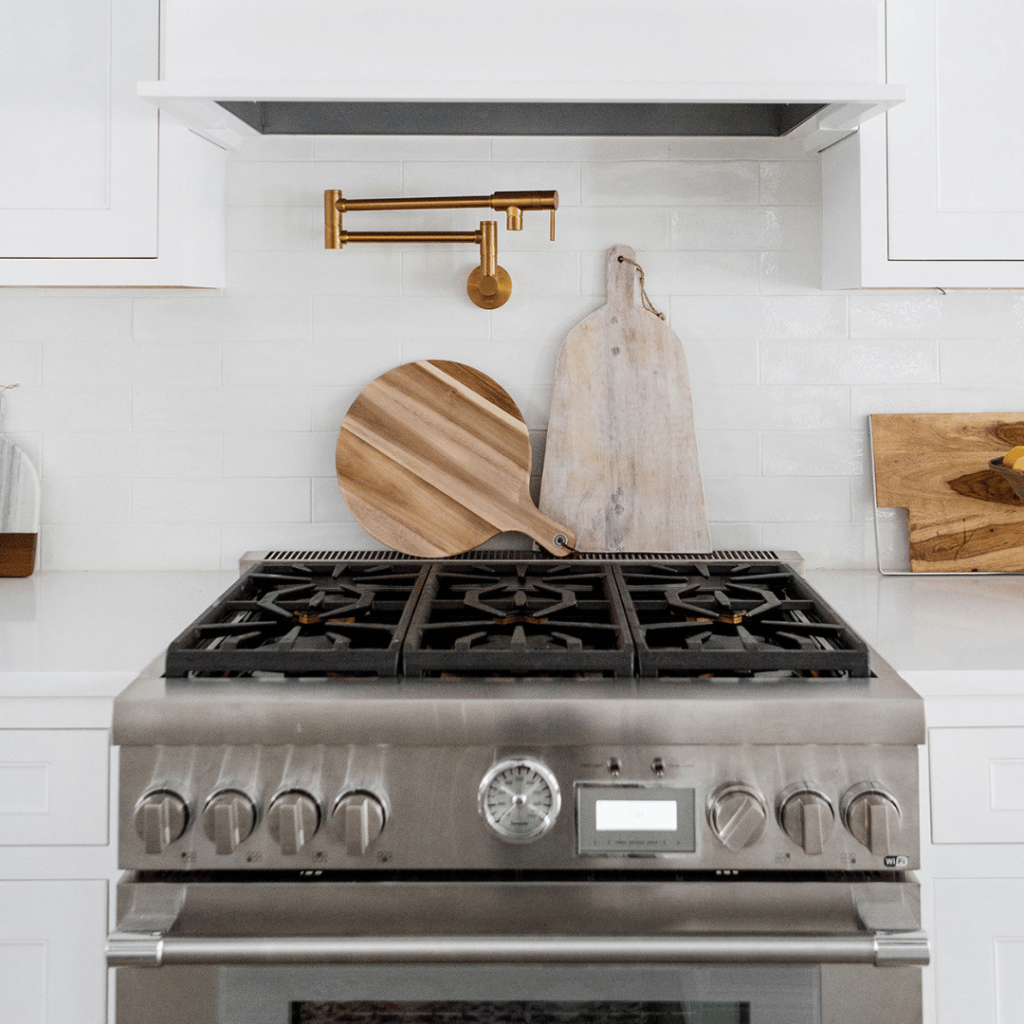
Organizing by zones makes it easy to know exactly where everything belongs—and Carrie’s approach is a game-changer.
- Cleaning Zone: Store dish soap, sponges, and towels near the sink.
- Food Prep Zone: Keep knives, cutting boards, and mixing bowls close to your prep area.
- Food Storage Zone: Organize pantry staples, leftovers, and containers in a logical order.
- Cooking/Baking Zone: Place pots, pans, and utensils near the stove.
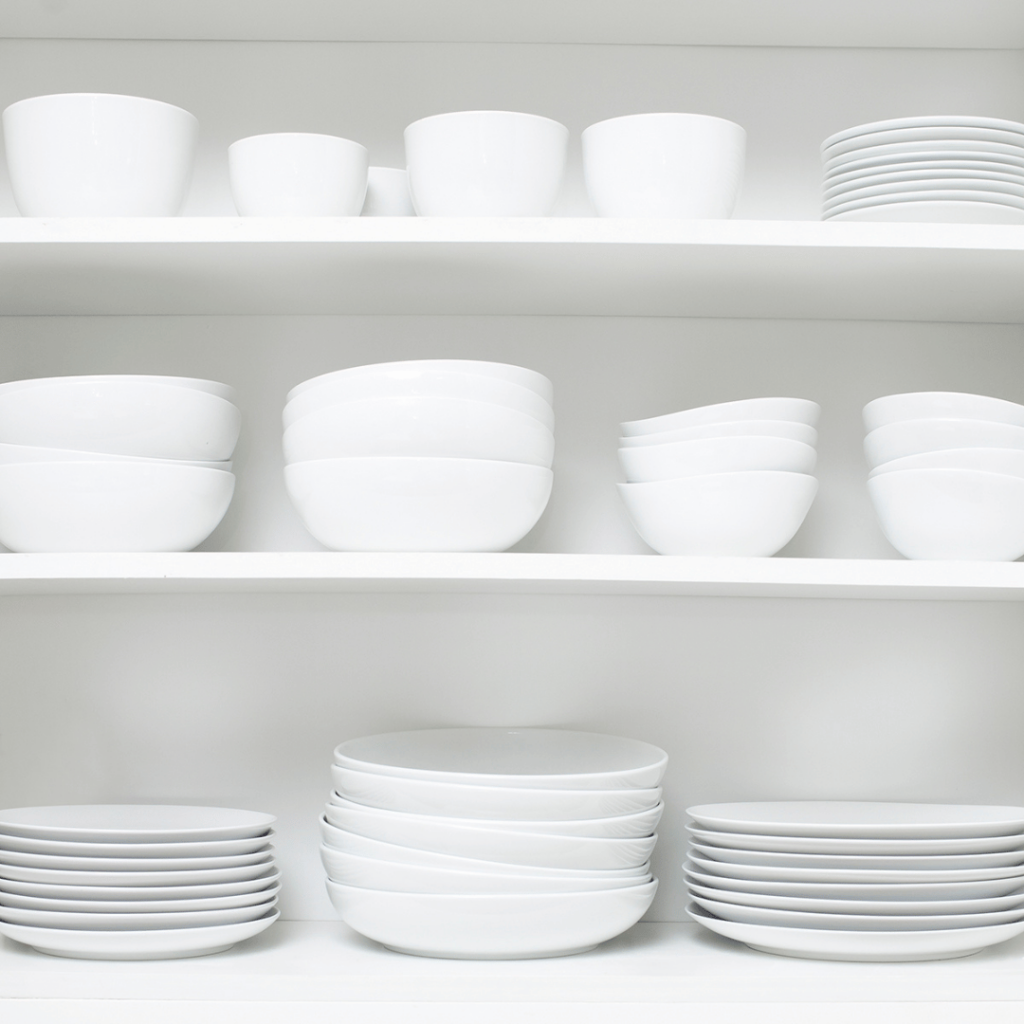
- Serving Zone: Store plates, glasses, and flatware where they’re easy to grab.
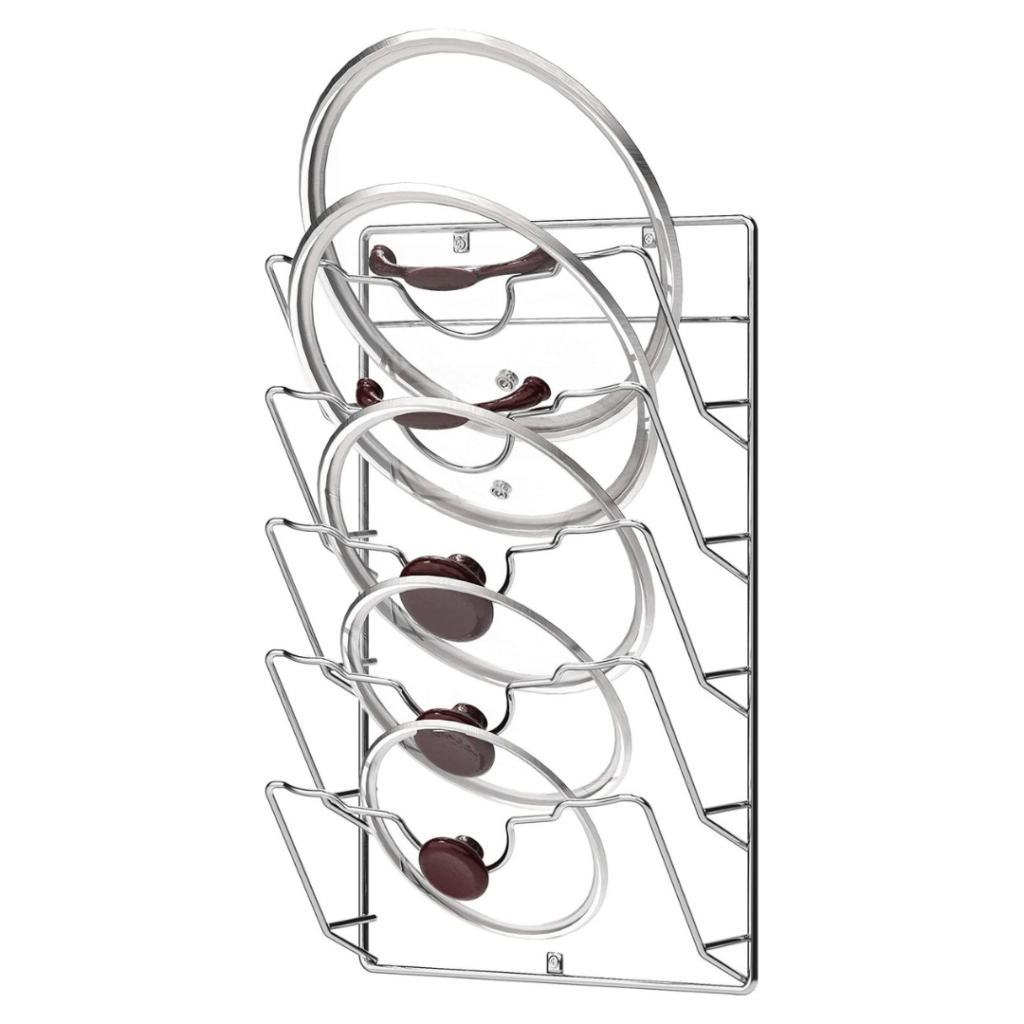
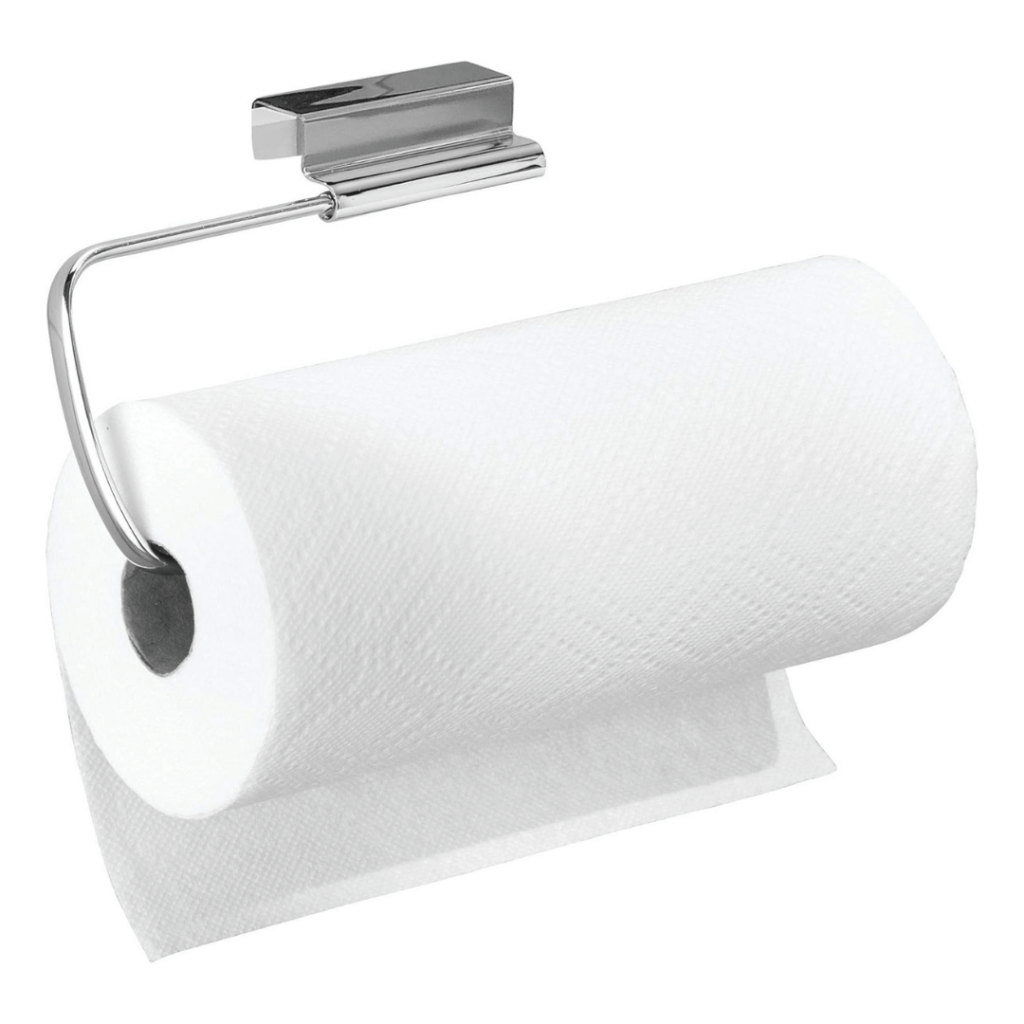
✨ Pro Tip: Use vertical storage solutions like wall-mounted racks, pot lid organizers, or cabinet paper towel holders to save space.
✅ Quick Win: Rearrange one zone today to make it more functional. Small changes can have a big impact!
Step 5: Maintenance Habits
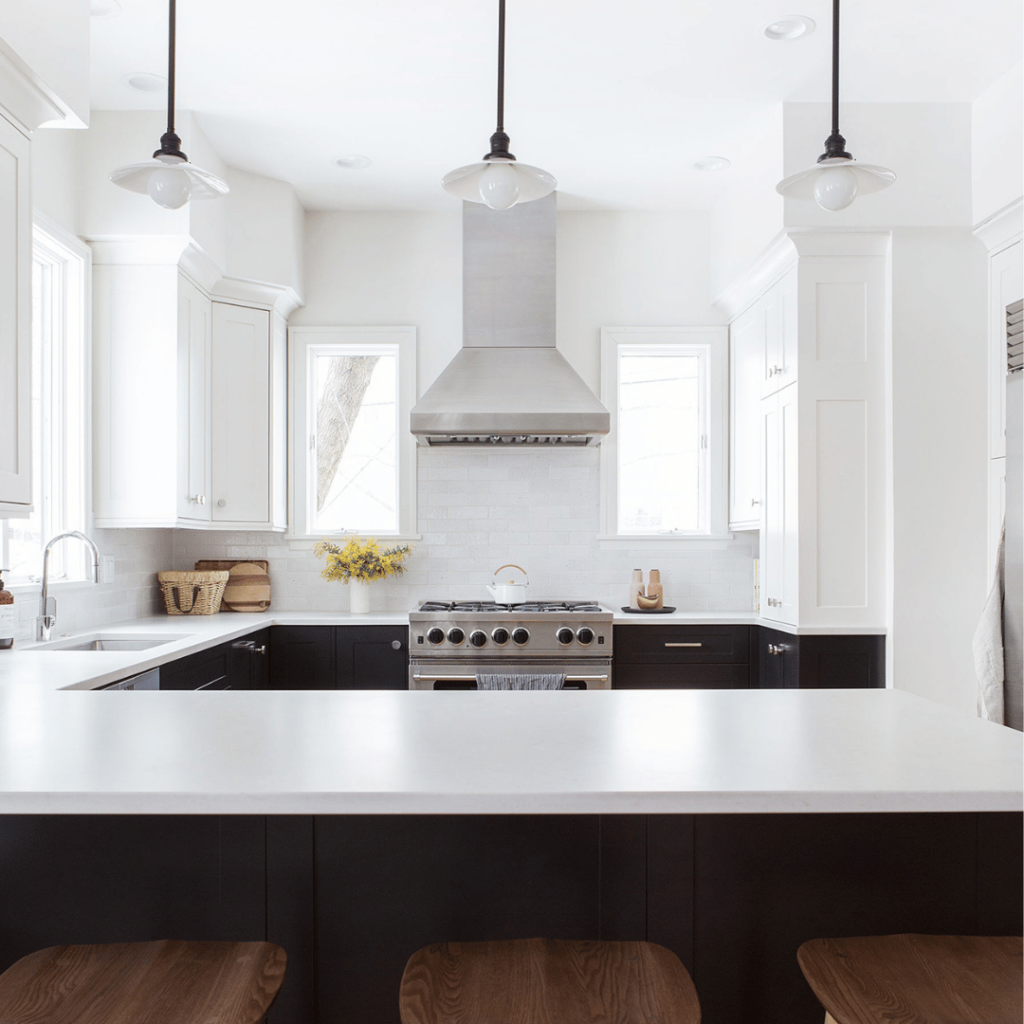
Carrie’s final tip is to create habits that keep your kitchen running smoothly, so your efforts don’t go to waste.
- Daily Reset: Spend 5 minutes each evening tidying counters and putting items back in their zones.
- Weekly Check-In: Dedicate a few minutes to tidying one area (e.g., the pantry or utensil drawer).
- Quarterly Review: Revisit your setup every few months to adjust as needed.
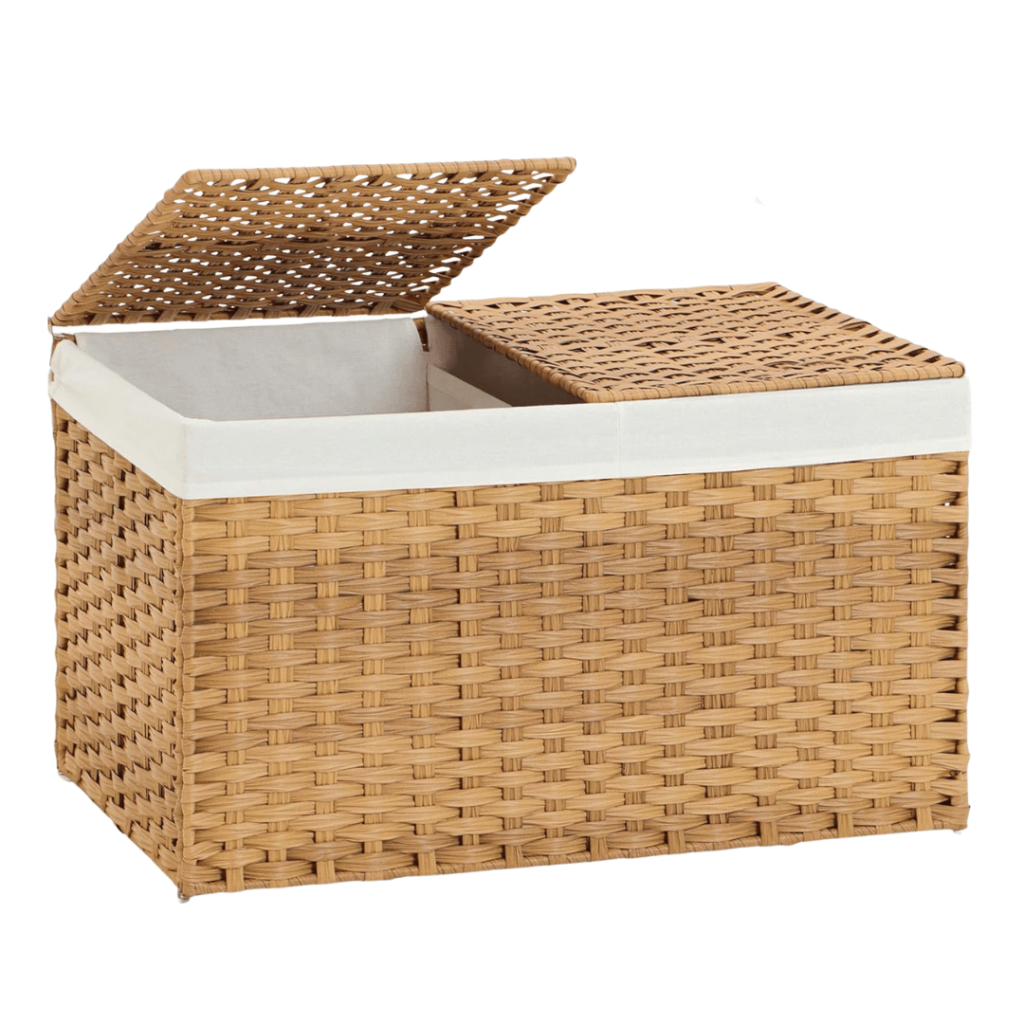
✨ Pro Tip: Keep a donation box or storage basket handy for items you no longer need to avoid future clutter.
✅ Quick Win: Set a calendar reminder for a quarterly kitchen check-up to keep your system running smoothly.
Congratulations on taking the first step toward a more organized kitchen! By following these tips, you’re setting yourself up for success and making mealtime less stressful. Whether you tackle one drawer or the whole pantry today, remember that every little effort adds up. Carrie’s expert tips are here to guide you, and I’m cheering you on every step of the way. Let’s turn your kitchen into a space you truly enjoy, one step at a time.
NeatSmart Professional Organizers, founded by Carrie Peeples, specializes in creating beautiful, functional spaces that simplify your life. Carrie’s expertise has transformed countless kitchens, helping families reduce stress and maximize efficiency. Want more tips and inspiration? Sign up for NeatSmart’s newsletter here.

